Jura Online Store

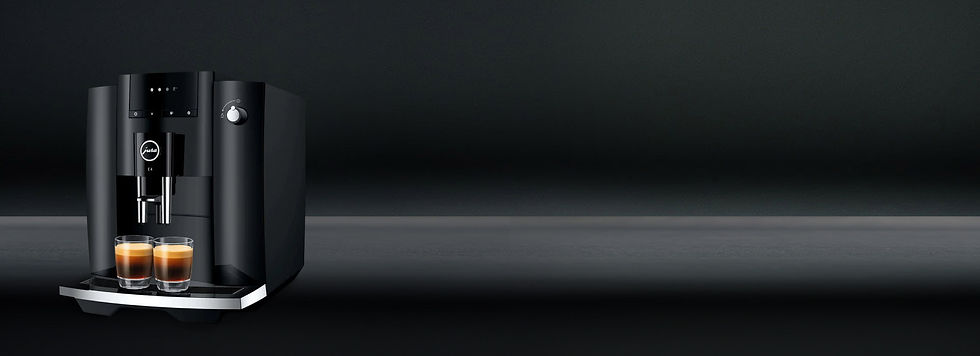
Jura Z5-Z6-Z7-Z9-GIGA Brew Group
Related Error Messages:
After the grinding process is complete, the coffee grounds enter the Z5-Z6-Z7-Z9-GIGA Brew Group. The Gear Motor receives the message to activate the Brew Group via the Encoder, which receives its signal from the CPU. The Gear Motor engages the Brew Group Drive Shaft, activating the Brew Group Infuser to compact the coffee. The Piston Gasket creates an airtight seal, allowing pressure to build to its optimal level, thus beginning the Brew Cycle. The pressure creates the thick crema on top of espresso shots. When the coffee is finished brewing, the Brew Group dumps the used coffee grounds into the Coffee Grounds Container and returns to its stationary position.
Over time, the piston gaskets become hard and dry, preventing the brew group from moving fluidly. The brew group may get stuck during the brew cycle, causing an Error 8 malfunction. If you notice more water dispensing through the coffee spouts during the pre-infusion (Initial shot of water injected into the grounds to wet them before the brew cycle continues), the piston gaskets may no longer be providing an airtight seal.
If coffee is emptying into the drip tray instead of dispensing through the coffee spouts, the Drain Valve is the most likely cause of the malfunction. Excess coffee accumulates on the drain valve, causing mold and corrosion, which can impact the functionality of the brew group. Furthermore, the gaskets contained in the drain valve will dry and harden with use, causing leaks.
| Model Line: | Model: | Model Number: |
|---|---|---|
| Jura Capresso-Impressa Z-Line: | Z5 - Z6 - Z7 - Z9 | 13214 - 13339 - 13418 - 13299 - 13549 - 13752 |
| Jura GIGA-Line: | GIGA 5 - GIGA X3 - GIGA X7 - GIGA X8 - GIGA X9 - GIGA W3 | 13623 – 15089 - 13624 |
How To Remove Z5-Z6-Z7-Z9 Brew Group
- Remove the water tank.
- Remove the 2 black, oval head screws from the top of the panel that the water tank rests against with an oval head key. Once the screws are removed, remove the panel. You now have access to the brew group.
- Remove the 3 T15 Torx screws that secure the brew group. 2 screws are located on opposite sides of the brew group drive shaft. Do not remove the smaller screw above the T15 torx screw located on the left side of the drive shaft. The third screw secures the drain valve to the machine (located at the bottom of brew group).
- Disconnect the Hairpin clip that secures the fluid nipple to the brew group and remove the nipple by pulling upward. This part is located at the top of the brew group. You will notice a silicone tube connects one end with the dispensing spout and the opposite end is inserted directly into the riser tube. You can now remove the entire brew group.